
Illustration plays a vital role in visual storytelling, enhancing everything from blog posts to product interfaces. As I have been fortunate to play a key role in shaping the illustration style and visual guidelines at WordPress VIP, I’ve had the opportunity to illustrate a wide range of assets—from case studies and UI visuals to social media assets and even a VIP-themed Wapuu for WordCamp.

Throughout this journey, Figma has been my go-to tool for crafting illustrations efficiently and collaboratively.
In this post, I’m sharing key insights into our illustration workflow in Figma, along with a range of essential plugins and tricks to help designers streamline their process.
Why Use Figma for Illustrations?
While Adobe Illustrator is a well-established industry standard, Figma brings distinct strengths, especially for web and product design teams. Its real-time, cloud-based approach eliminates the need for individual file versions and manual syncing, making collaboration more efficient and reducing the risk of version control issues. This flexibility and ease of use have made Figma a practical choice for teams working together on illustrations and design projects.
Here’s why Figma has been our tool of choice:
- Real-Time Collaboration – Multiple designers can work on the same file simultaneously, iterating in real time.
- Vector Editing Tools – Figma’s vector editing capabilities allow for precise manipulation of shapes and paths.
- Reusable Components & Libraries – Maintaining consistency across projects is easier with shared assets and styles.
- Plugins for Enhanced Creativity – A growing ecosystem of plugins enables everything from pattern creation to advanced animations.
- Performance Optimization – Features like SVG export and image compression help maintain high-quality visuals without compromising site speed.
Essential Figma Plugins for Illustration
While Figma already provides a solid foundation for vector editing, the right plugins can push your creativity further—whether that means adding realistic textures, automating complex patterns, or animating illustrations without leaving your design file.
Below, I’m sharing some of my must-have Figma plugins, grouped by their purpose, along with insights on how I use them in my day-to-day work.
Blending & Texture
This plugin enables smooth transitions between two shapes, such as lines, ellipses, or rectangles. Select the objects you want to blend, run the plugin, and adjust the number of intermediary steps to control the transition’s smoothness. You can fine-tune properties like stroke weight, fill color, opacity, rotation, and blur effects in real-time.


Add subtle textures and depth to your illustrations with the Noise plugin. Select an object, run the plugin, and customize settings like noise intensity, scale, and opacity to achieve the desired effect. This is particularly useful for breaking up flat colors or masking banding in gradients.


The Pixels plugin in Figma is a fantastic tool for transforming vector shapes and images into pixelated designs. I use it when I want to create a retro, 8-bit aesthetic or add a stylized, low-resolution effect to my illustrations.
To use it, simply select any shape or image with a fill, run the plugin, and adjust the pixel size using the slider. The plugin applies a pixel grid effect, breaking down your design into blocky, square segments. You can start with the default 16×16 grid or fine-tune the sample size for more or less detail.
Distribute elements in a visually balanced yet organic way using Poisson disc sampling. Select one or more objects, run the plugin, and set parameters like minimum spacing and distribution area to generate a natural-looking arrangement.


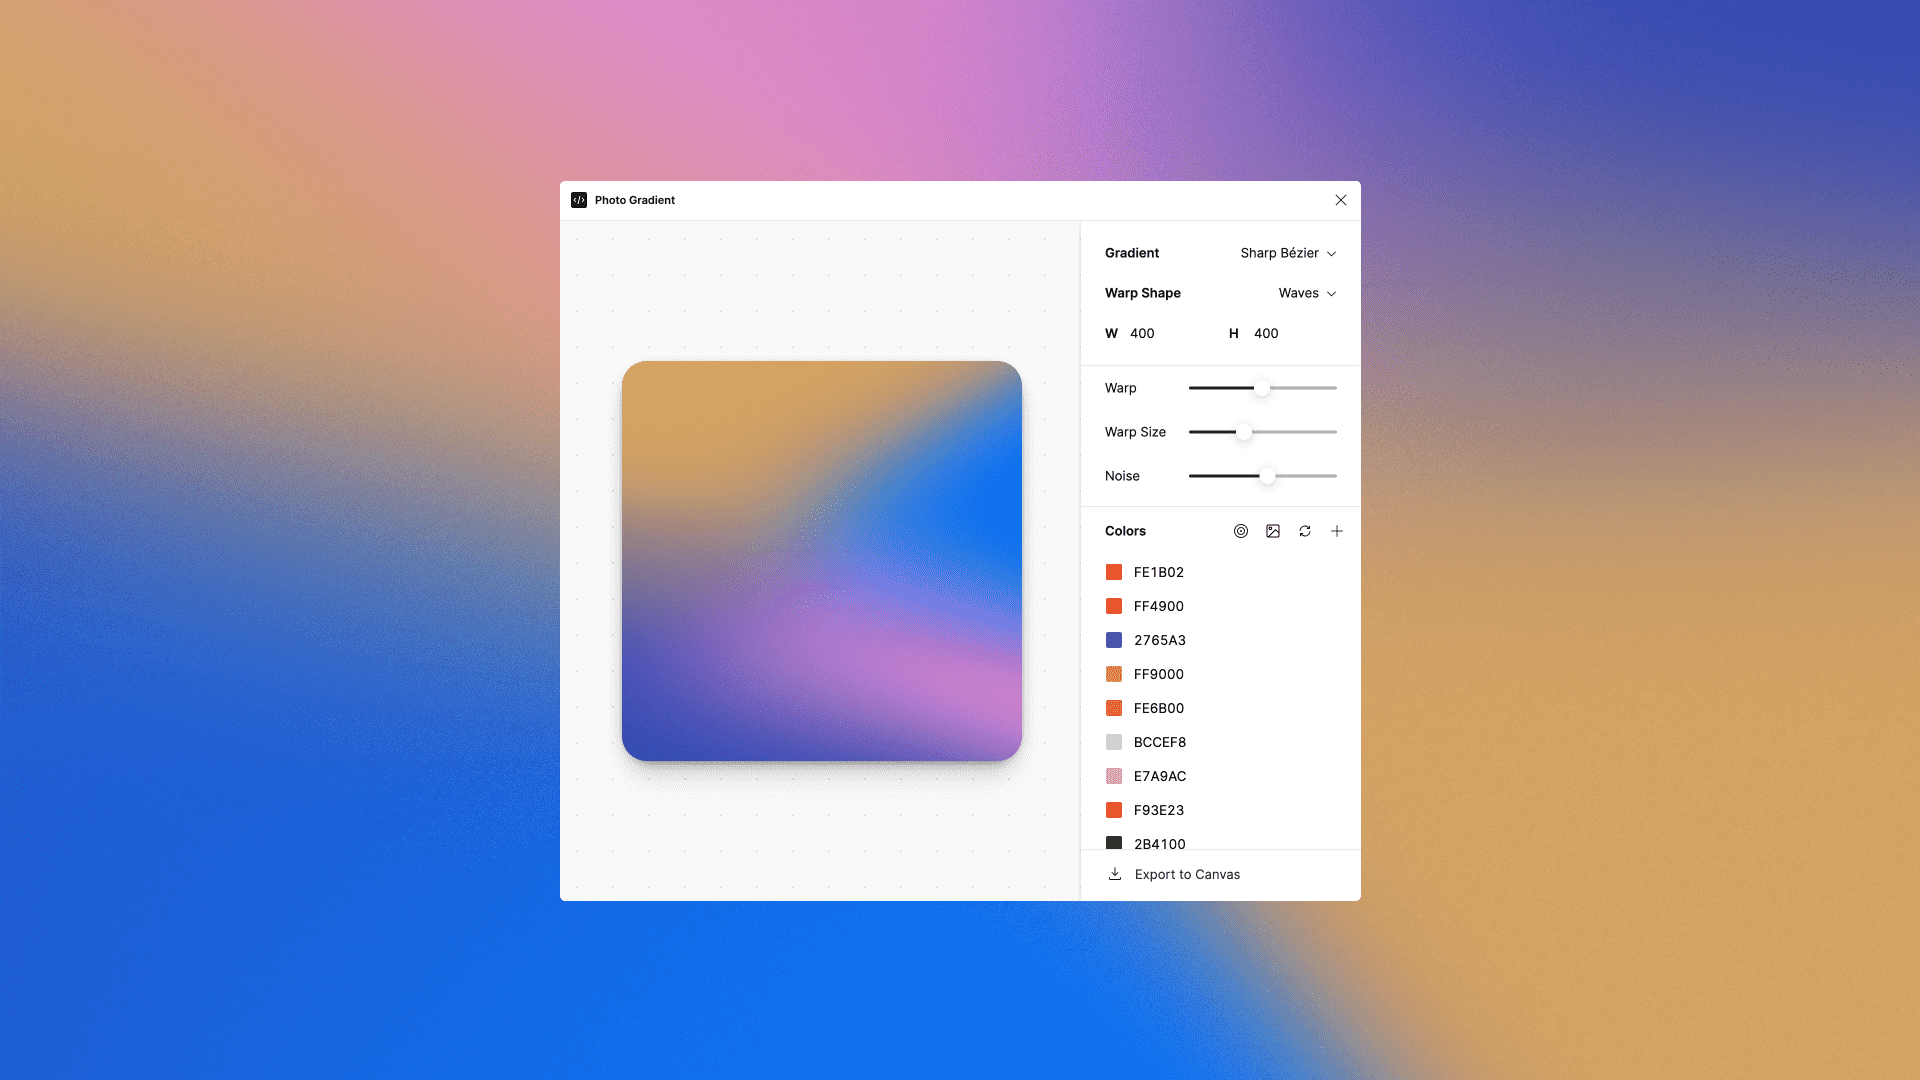
The Photo Gradient plugin in Figma allows you to easily create smooth gradients from any image, adding dynamic depth to your designs. To use it, select an image in your project, and open the plugin through the Plugins menu. The plugin will automatically generate a gradient based on your image, and you can fine-tune it by adjusting the gradient’s angle, color range, and opacity.

Animation & Motion
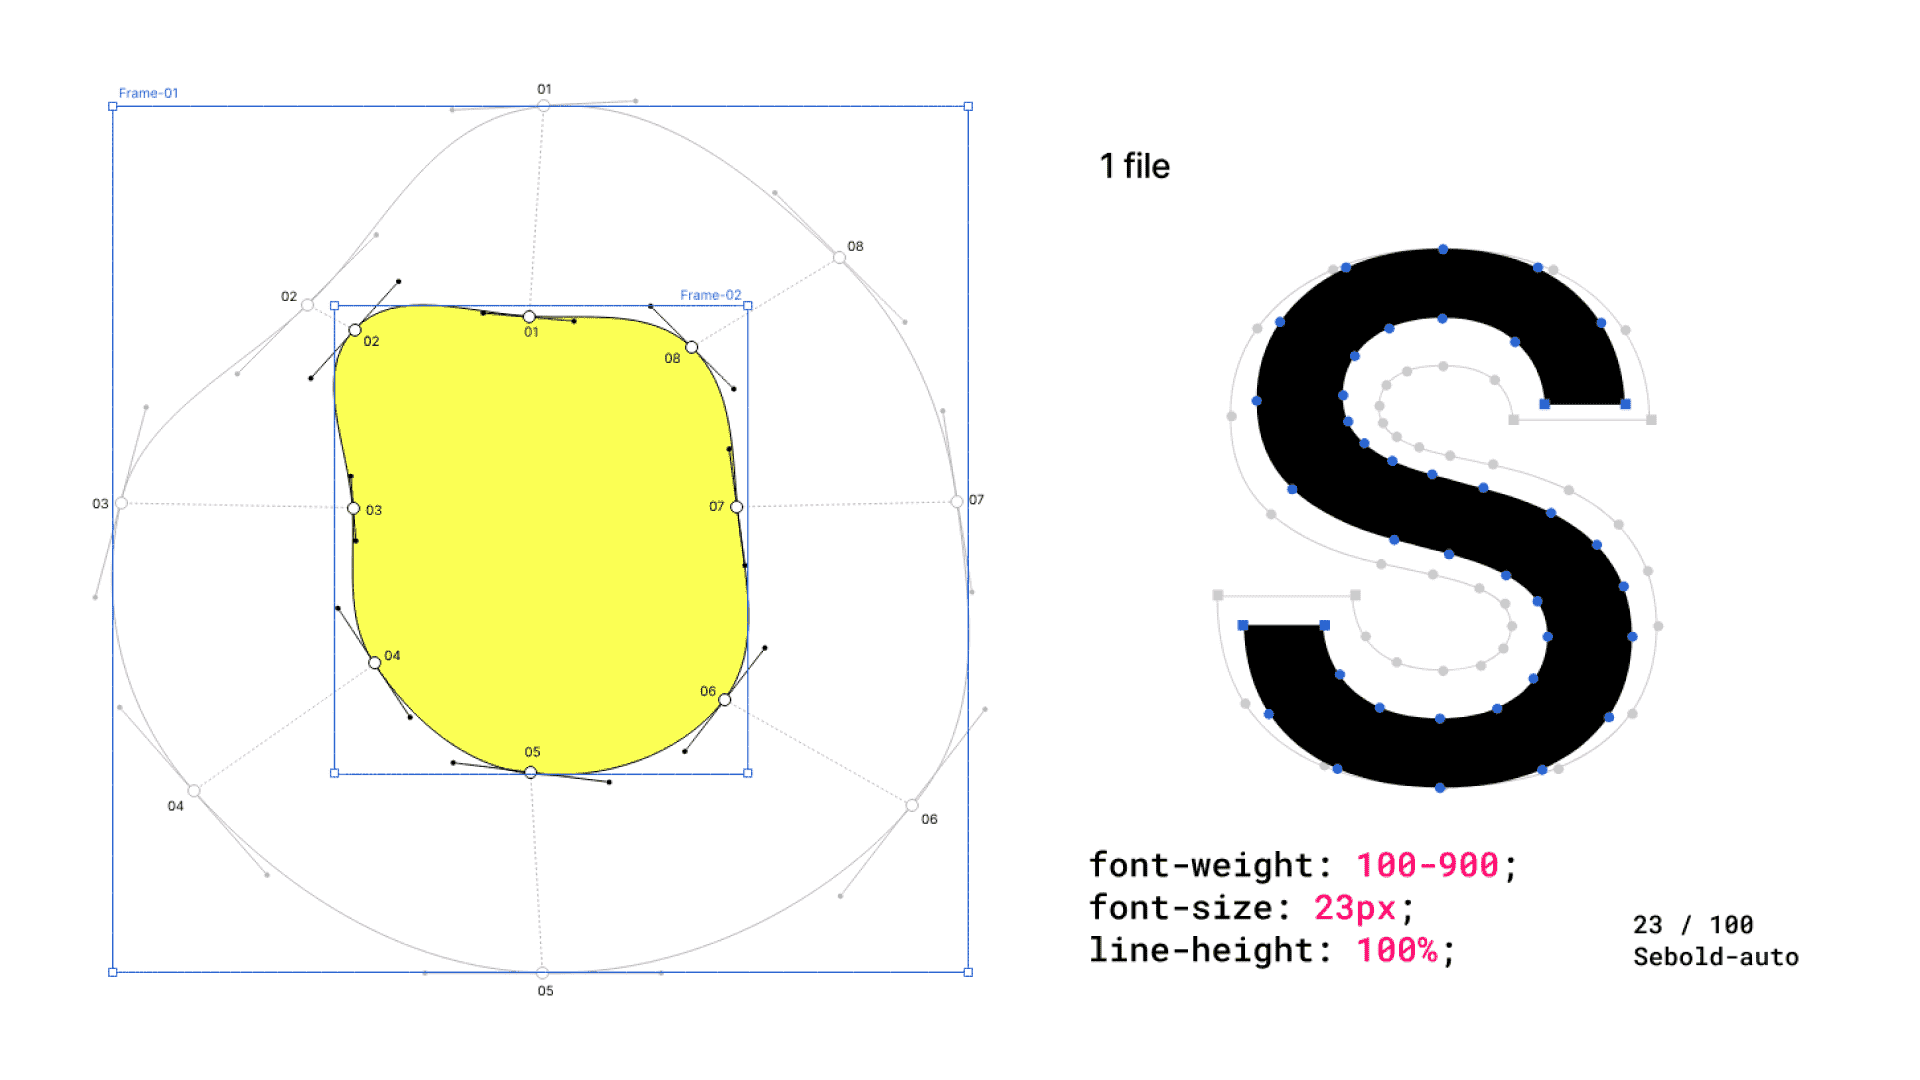
The plugin Shape move is specifically designed to allow you to create more dynamic and engaging animations within designs by animating the anchor points of vector shapes. An anchor point is a fixed point on a graphic object that serves as a reference for scaling, rotating, and positioning. You are able to customize the timing and easing of the animations, as well as the duration and delay of each animation.Export is supported in the following formats: SVG, GIF, and Webm formats.


Animate vector lines with the “Stroke” property to create engaging line-based animations. Select your vector shapes, open the plugin, and set keyframes and motion paths directly within Figma. You can export animations in SVG, GIF, or WebM formats.


Transform static layers into dynamic animations with realistic physics-based movements. Select the layers you want to animate, run the plugin, and it will apply physics-based dynamics to bring your illustrations to life.


Effects & Enhancements
Apply effects like Neon, Glitch, Reflection, and Gradient to shapes, bringing a fresh aesthetic to vector elements. Select the shape you want to enhance, run the plugin, and choose from the available effects to apply.


Generate natural-looking shadows by dragging a virtual ‘light source’ around your design. Select the element you want to cast a shadow, run the plugin, and adjust the light source to create realistic shadows.


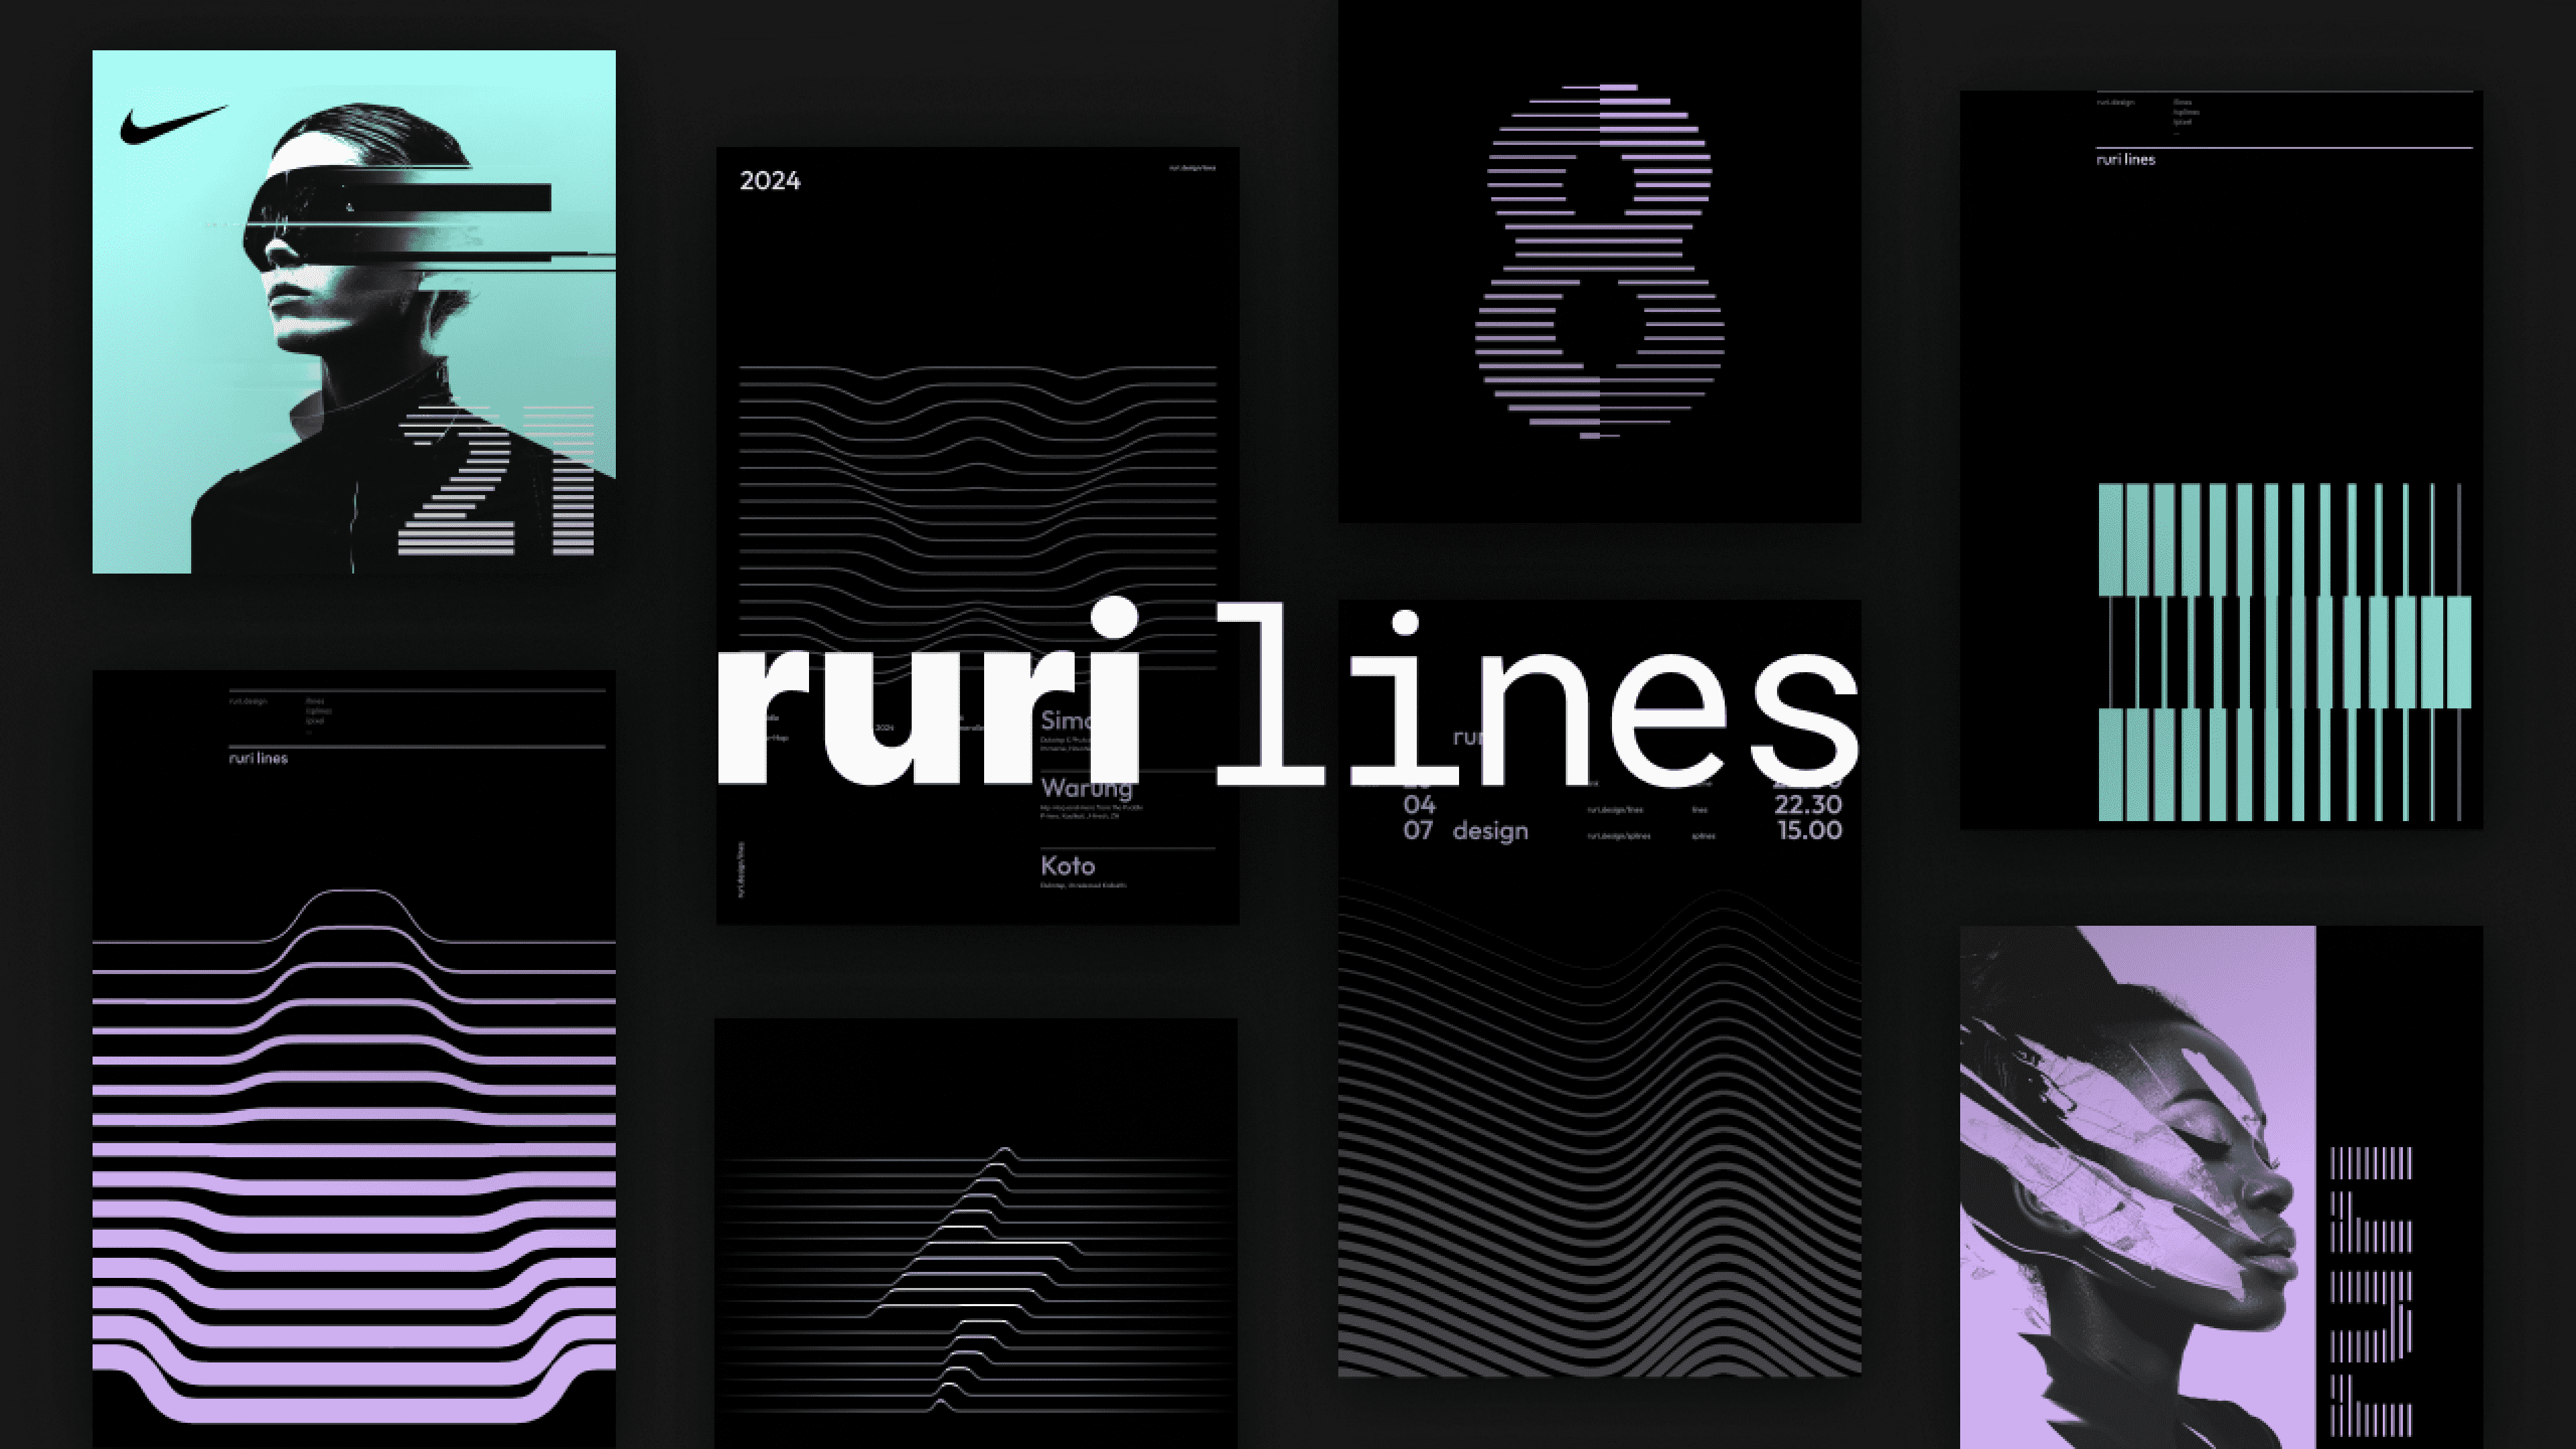
Transform any image into a striking line pattern, ideal for creating textures and abstract designs. Select the image you want to convert, run the plugin, and it will generate a line pattern based on the image.

Drawing assistance
Create elegant line charts with customizable curves, perfect for data-driven visuals. Input your data, run the plugin, and it will generate a line chart that you can customize to fit your design.


Apply perspective transformations to UI elements or images using methods like isometric skewing or full 3D perspective control. Select the object you want to transform, run the plugin, and choose the desired perspective effect.


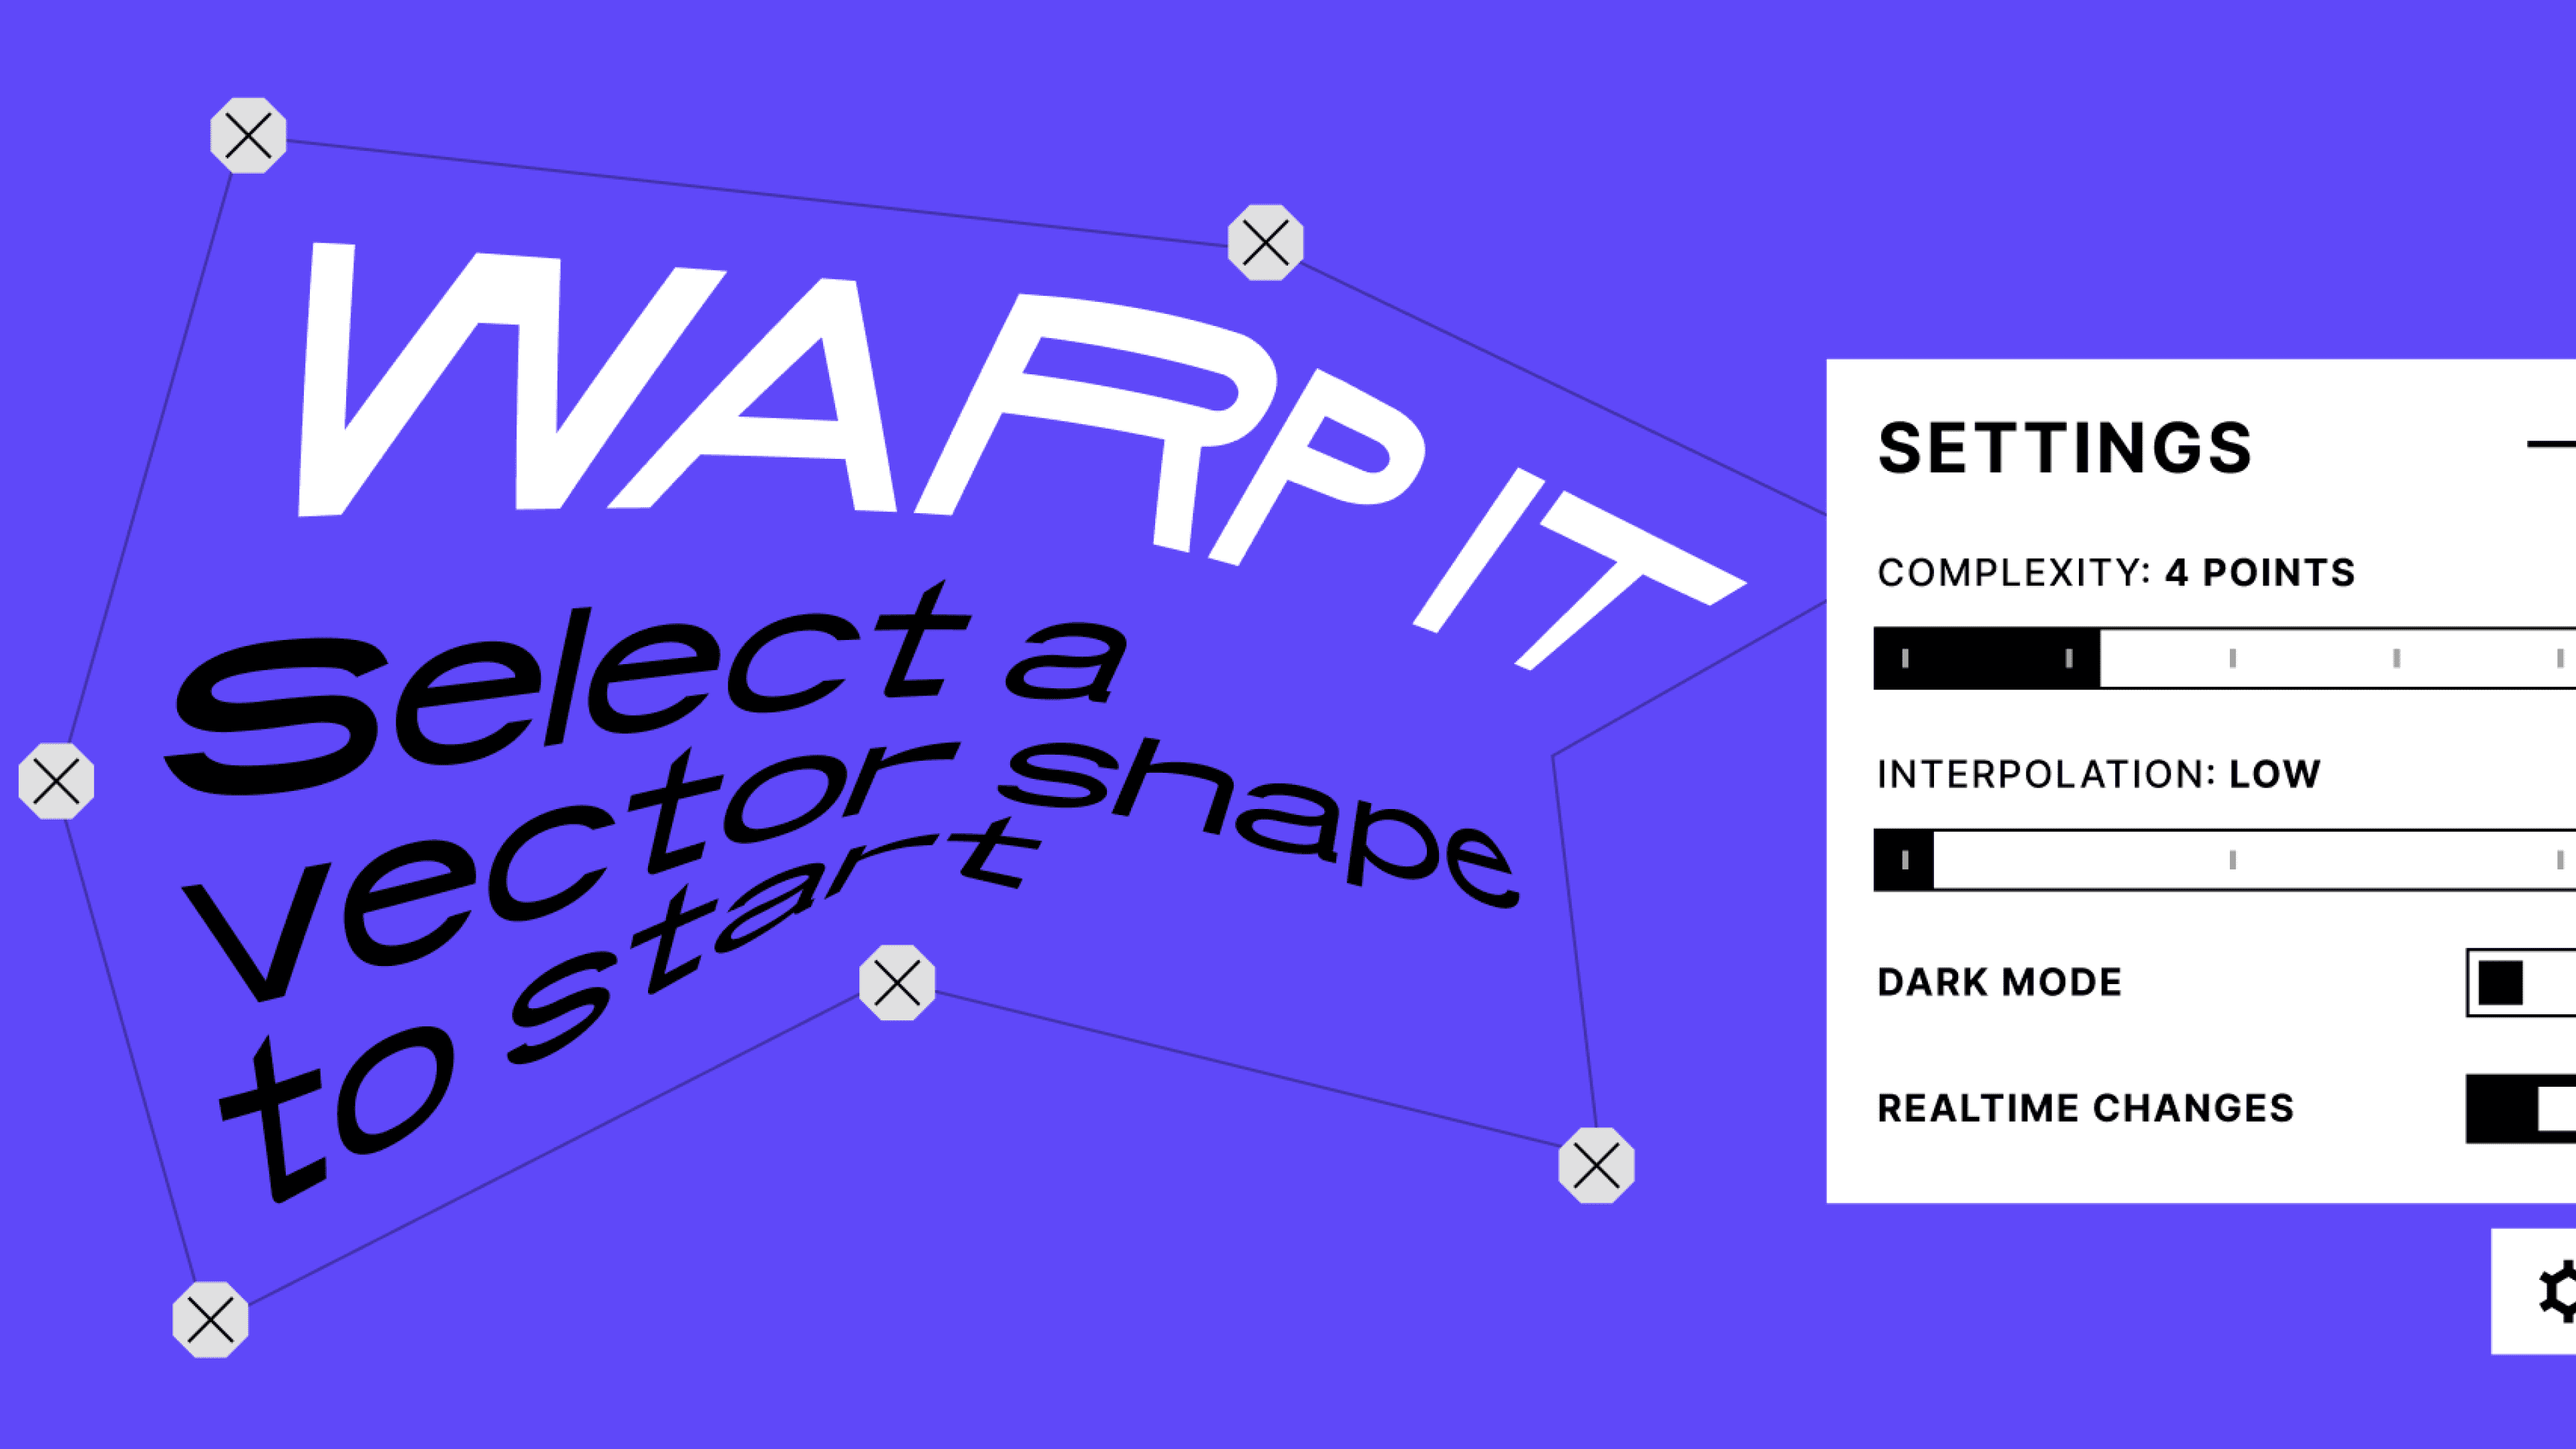
Warp and distort vector shapes dynamically for creative effects. Select the shape you want to warp, run the plugin, and adjust the warp settings to achieve the desired distortion.

Optimization & Performance
Export images at up to 95% smaller file sizes than Figma’s default compression, optimizing performance without sacrificing quality. Select the images you want to compress, run the plugin, and it will reduce the file sizes while maintaining visual fidelity.
Prepare your designs for print by exporting to CMYK, creating 300dpi PDFs, and adding bleed and crop marks. Run the plugin, and it will guide you through setting up your design with the necessary print specifications.
Bringing It All Together
Finding the right tools can make all the difference in your illustration workflow, helping you work faster, smarter, and with more creative freedom. Whether you’re refining icons, designing animations, or building complex compositions, the right plugins can streamline your process and unlock new possibilities. From automating tedious tasks to adding unique effects, there’s always a tool that can elevate your work. What are your go-to resources for illustration? Let’s keep the conversation going—share your favorite tricks and tools in the comments!


