Recently a few of us set out to record demo videos for some of the new features set to arrive in the upcoming version of WordPress, version 5.9:
We’ve done this before (here are some general video recording tips we’ve compiled), but a common challenge, when many of us work together across different time zones, is telling a cohesive story.
In case it’s helpful to your team, here’s what we learned for this latest round of videos.
First: Sync Up
When multiple people collaborate, you can easily get a bunch of videos that look and feel disconnected. So it’s good to always start with a quick set of baseline rules, and get everyone to apply these before starting to record:
- Choose a video resolution so everyone has the same zoom level and aspect ratio.
See the “Tools” section later on for software that can help. - Consider whether to include the browser frame (and if you do, use the same browser). You should probably omit the frame unless you have a good reason to keep it: including it can easily date your content and reduce its longevity.
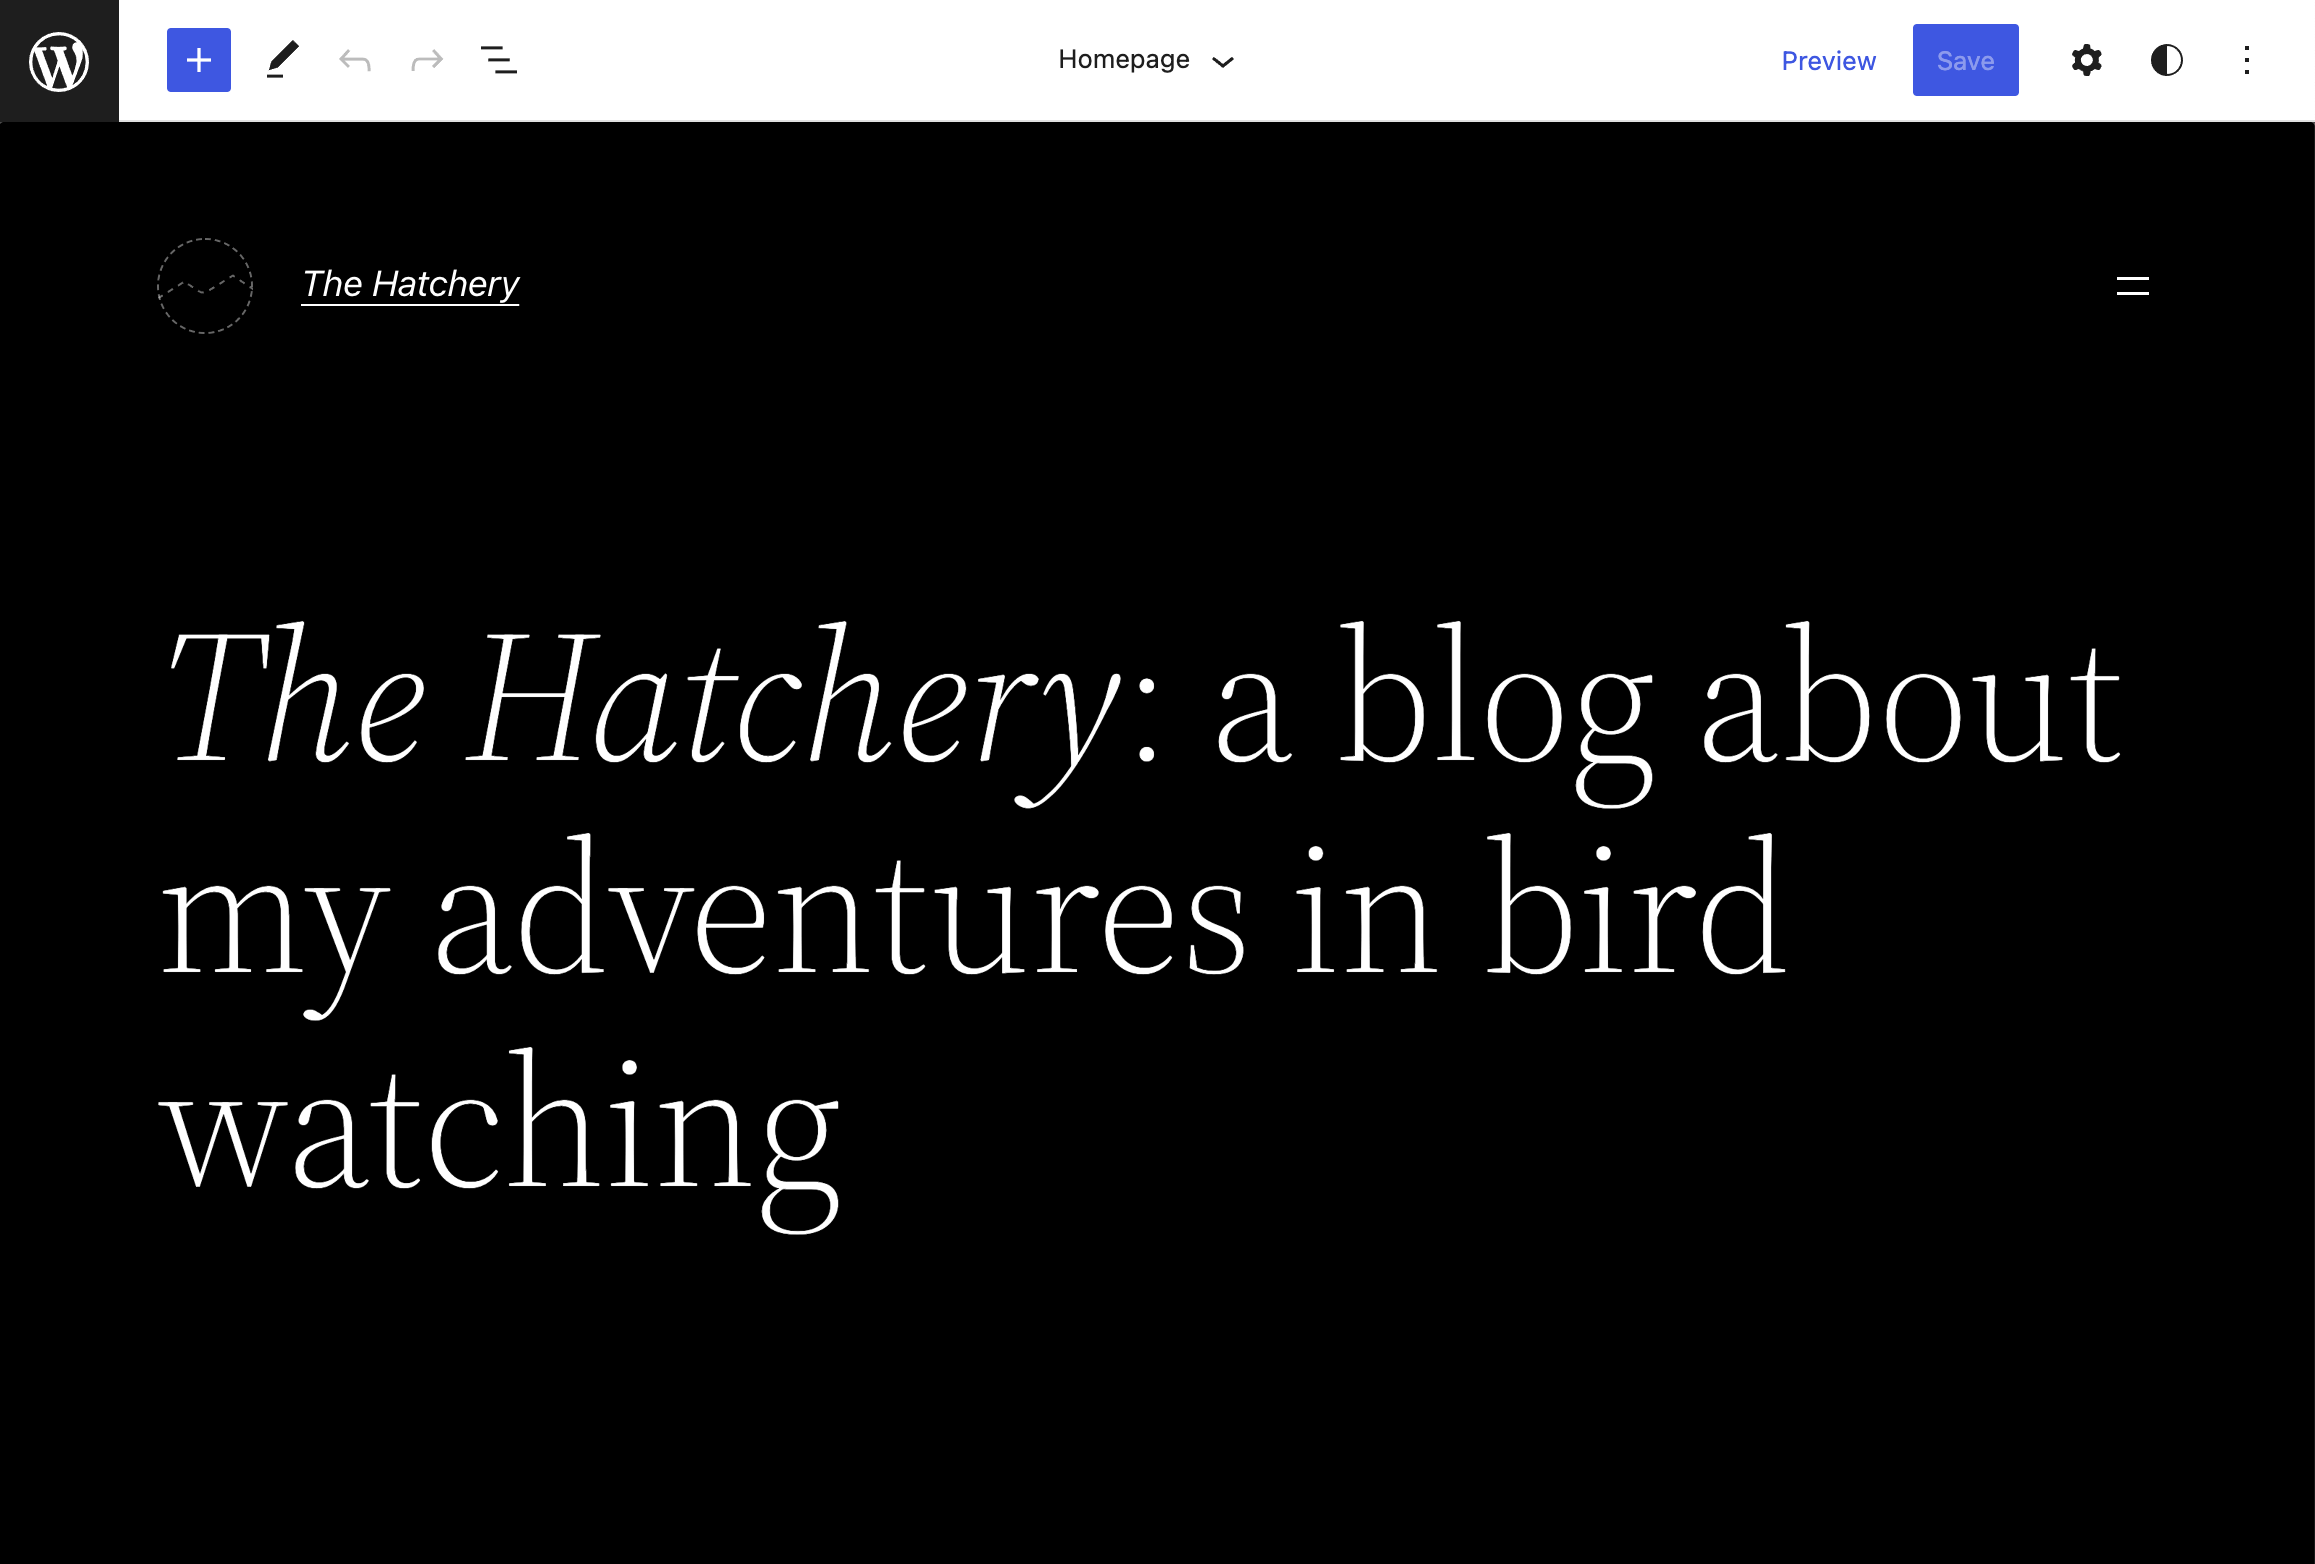
Also, make sure the software you’re demoing has the same base theme and configuration. In the case of WordPress, use the same color scheme (available under Users → Profile) and block editor configuration. I like to use the “Modern” color scheme along with the default fullscreen editor:
Use pre-made patterns to tell a cohesive story
A WordPress pattern is a set of editor blocks, pre-configured with text and imagery. To insert a pattern in WordPress, click the “Add Block” button:

Insert a pattern and you’ve gone from an empty page to a compelling layout in seconds.

Patterns are perfect for recording demo content:
- They are carefully crafted, usually over the course of designing a single theme, ensuring a high level of consistency and quality.
- They provide one-click shortcuts to convincing and compelling demo content.
- Good patterns tell a story. In employing the same category of patterns across demo videos, a distributed team automatically tells the same story.
With patterns, both the design and the story are pre-made for you and the team. Leveraging them for your recordings frees up a great deal of the time that would otherwise have gone into the creation of demo content, allowing you to focus on what’s most important, such as showcasing new features—such as the ability to change global styles for a theme in just a few clicks, as shown here:
Tip: For some features you’re demoing, you can zoom in right in the browser using ⌘+. This can provide a higher resolution for video editing purposes, perhaps to showcase a particular feature. Webpages scale the best at even zoom levels, such as 150%, 200%, etc.
Tools
An important part of a smooth recording workflow is to streamline the recording process. The easier it is to set up, the more likely it is that you’ll do it, and end up with a good result.
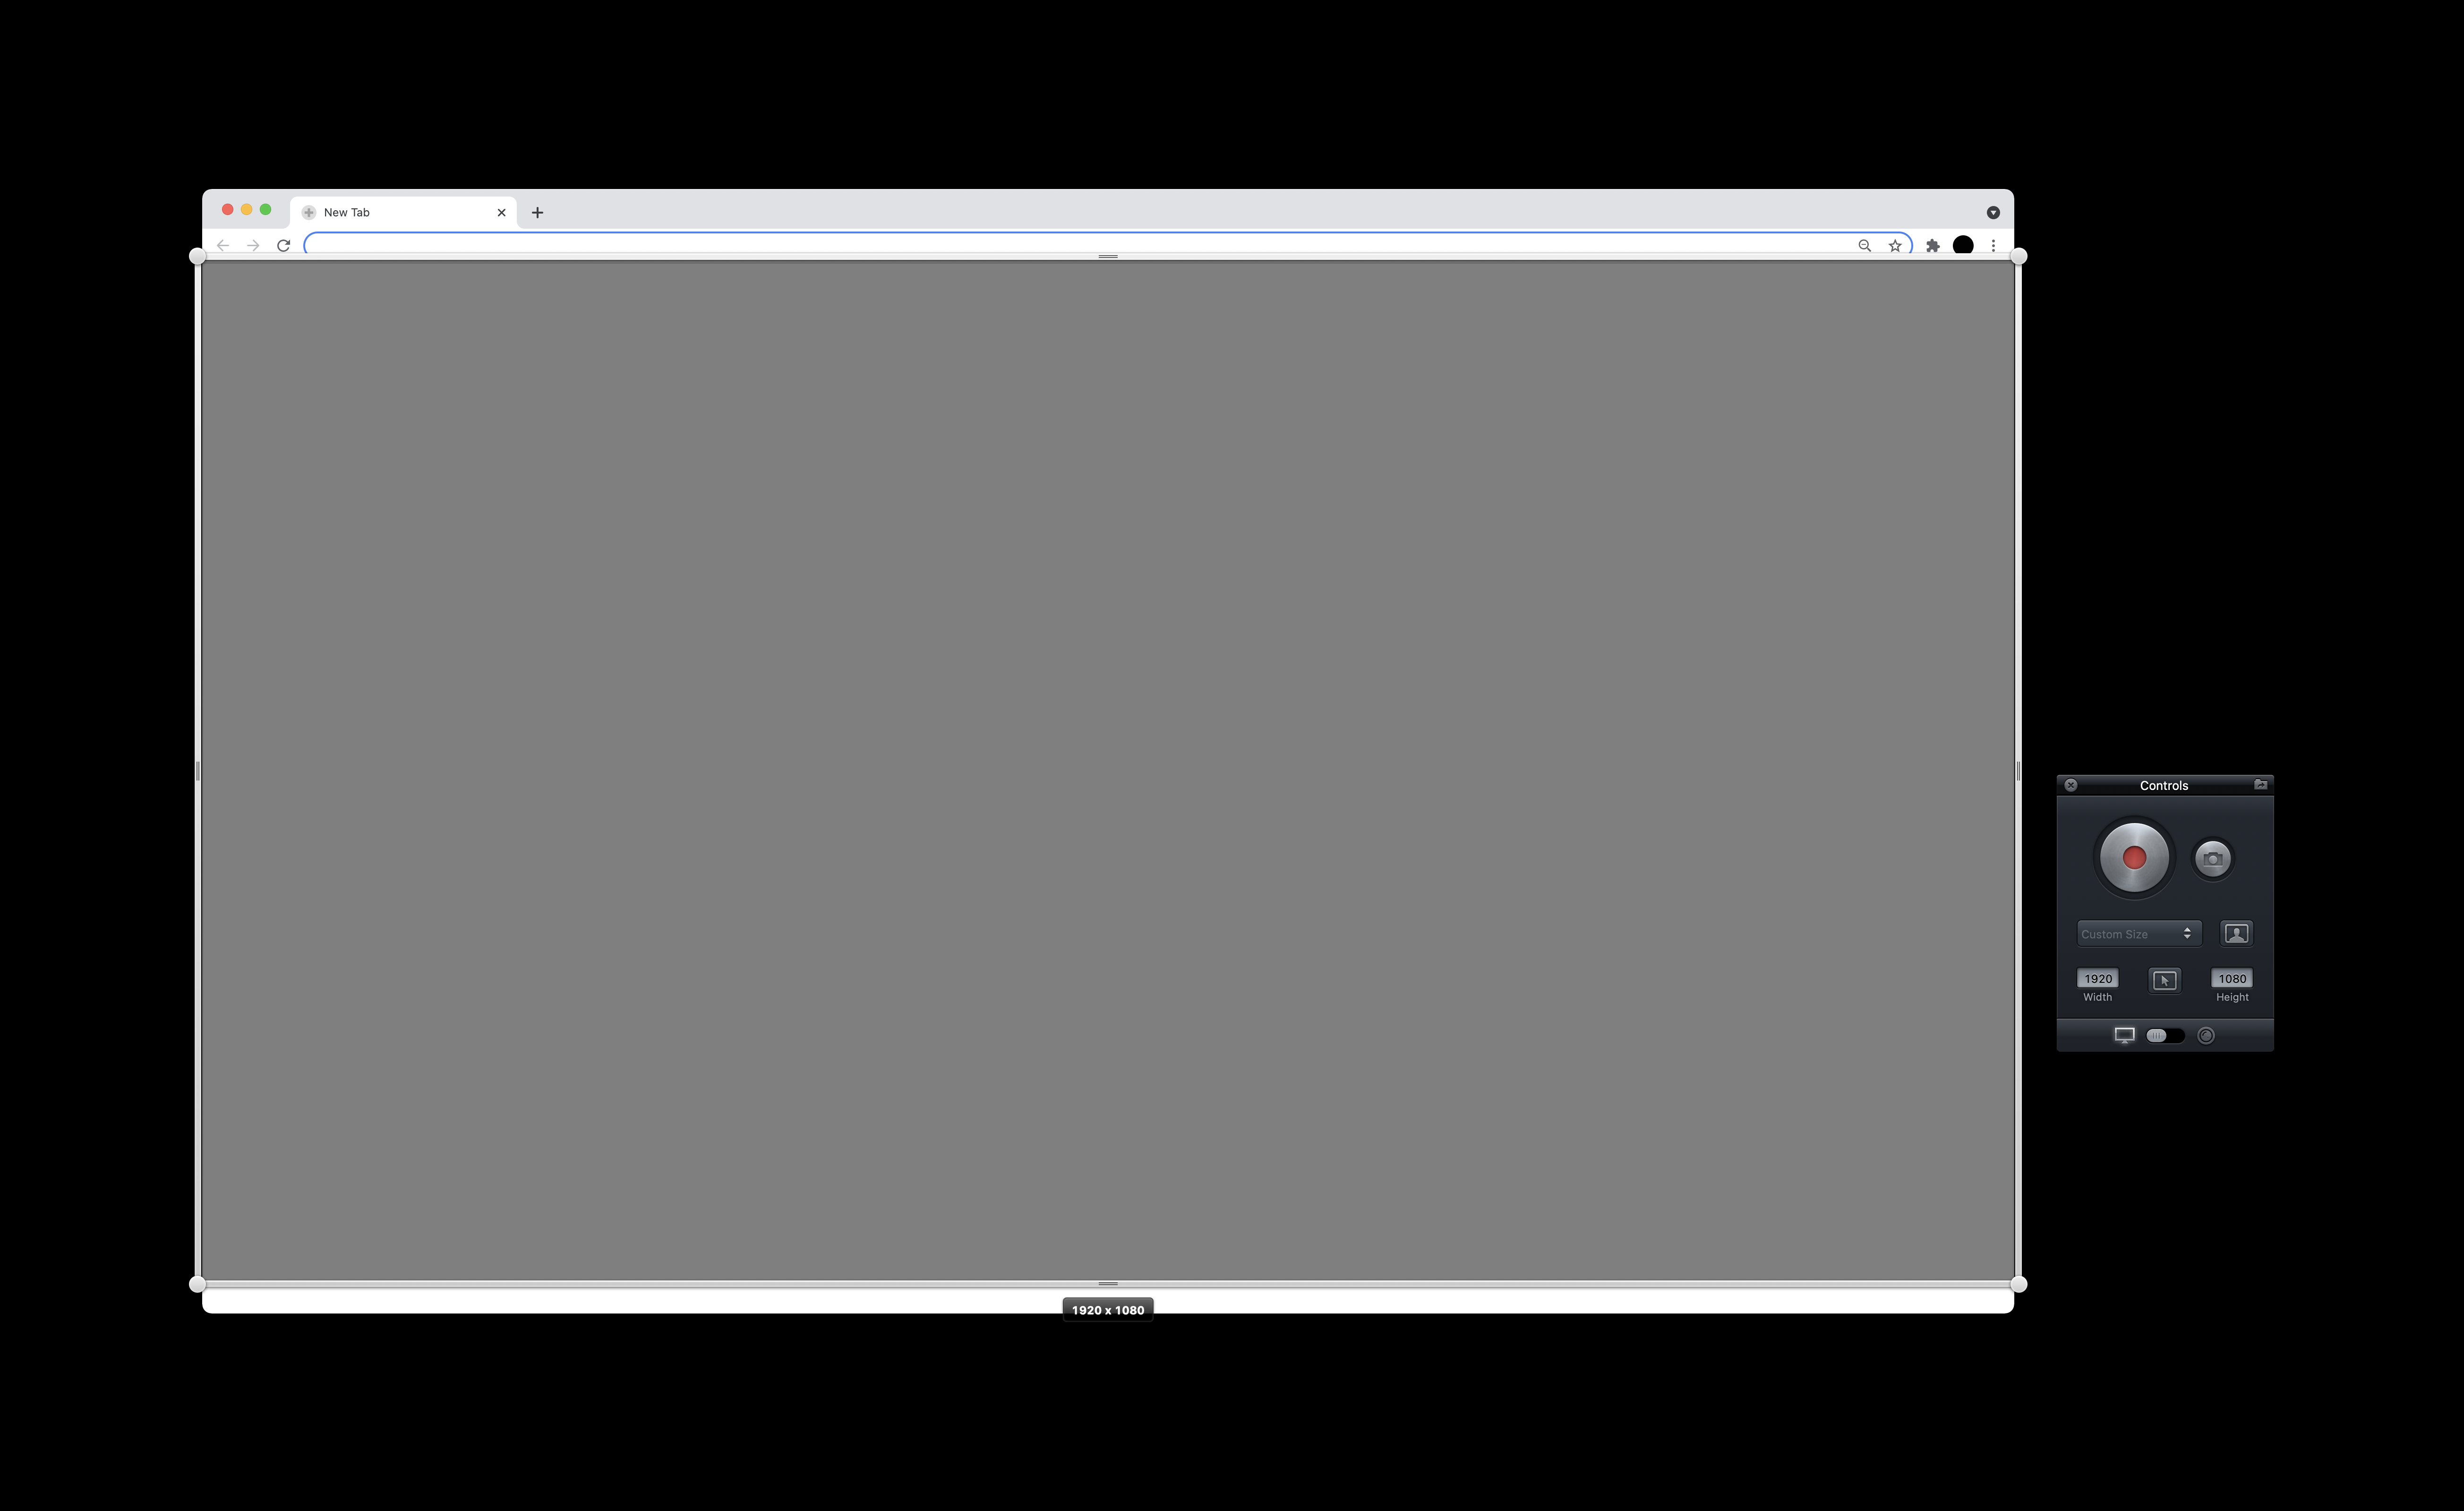
If you’re on the Mac, BetterSnapTool (Moom also appears to offer this, but I’ve not tried it) is a great utility for setting up ”snap areas’: little window resizing shortcuts that let you position and set the precise dimensions of your browser window.

For recording your content, Screeny benefits from its very simple featureset, for remembering the previous screen portion you set up, and for its ⌘⇧1 start/stop recording keyboard shortcut.
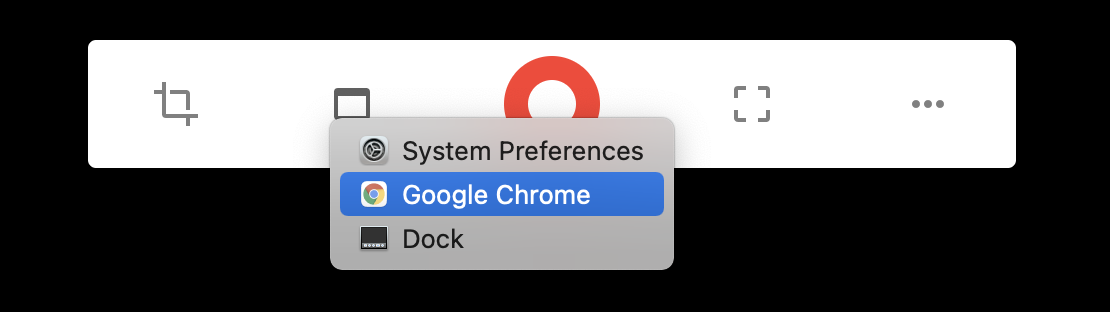
Kap is a free alternative steadily gaining in features and turning into quite a powerful recording suite on its own. Kap remembers your last screen portion, allows you to configure the recording shortcut, and even has plugins to omit notifications from popping onto your screen when you are recording. I find that it can be more fiddly than Screeny to set precise video dimensions with, but it comes with a very handy ability to resize itself to match a particular window:
Key features of both Screeny and Kap is that they can let you configure the resolution of the video you want to record. After you’ve done that once, it’ll be easier the next time you need to record (so long as you don’t move that preset rectangle once you’ve set it up).
Summary
After the initial setup of snap areas and recording tools, all the tools to streamline your recording workflow are there to use the next time you need to demo.
Demoing your work is not just about showcasing progress on your software, it’s a celebration of the work done. The beauty of your presentation generates enthusiasm about your work. Simplifying the workflow is a way to make this easy, and to help build a habit of showing and presenting your work—and ultimately reminding you what you can be proud of.


